![]()
As applications grow in complexity and scale, managing access to services and routing external traffic efficiently becomes a crucial challenge. This is where Ingress Controller in Kubernetes play a pivotal role. In this blog, we’ll dive into what Ingress Controllers are, why they’re vital for modern web architectures, and how they can be implemented and utilized effectively.
- Introduction to Ingress Controller in Kubernetes
- Why Use an Ingress Controller?
- Popular Ingress Controllers
- Implementing an Ingress Controller
- Conclusion
Introduction to Ingress Controller in Kubernetes
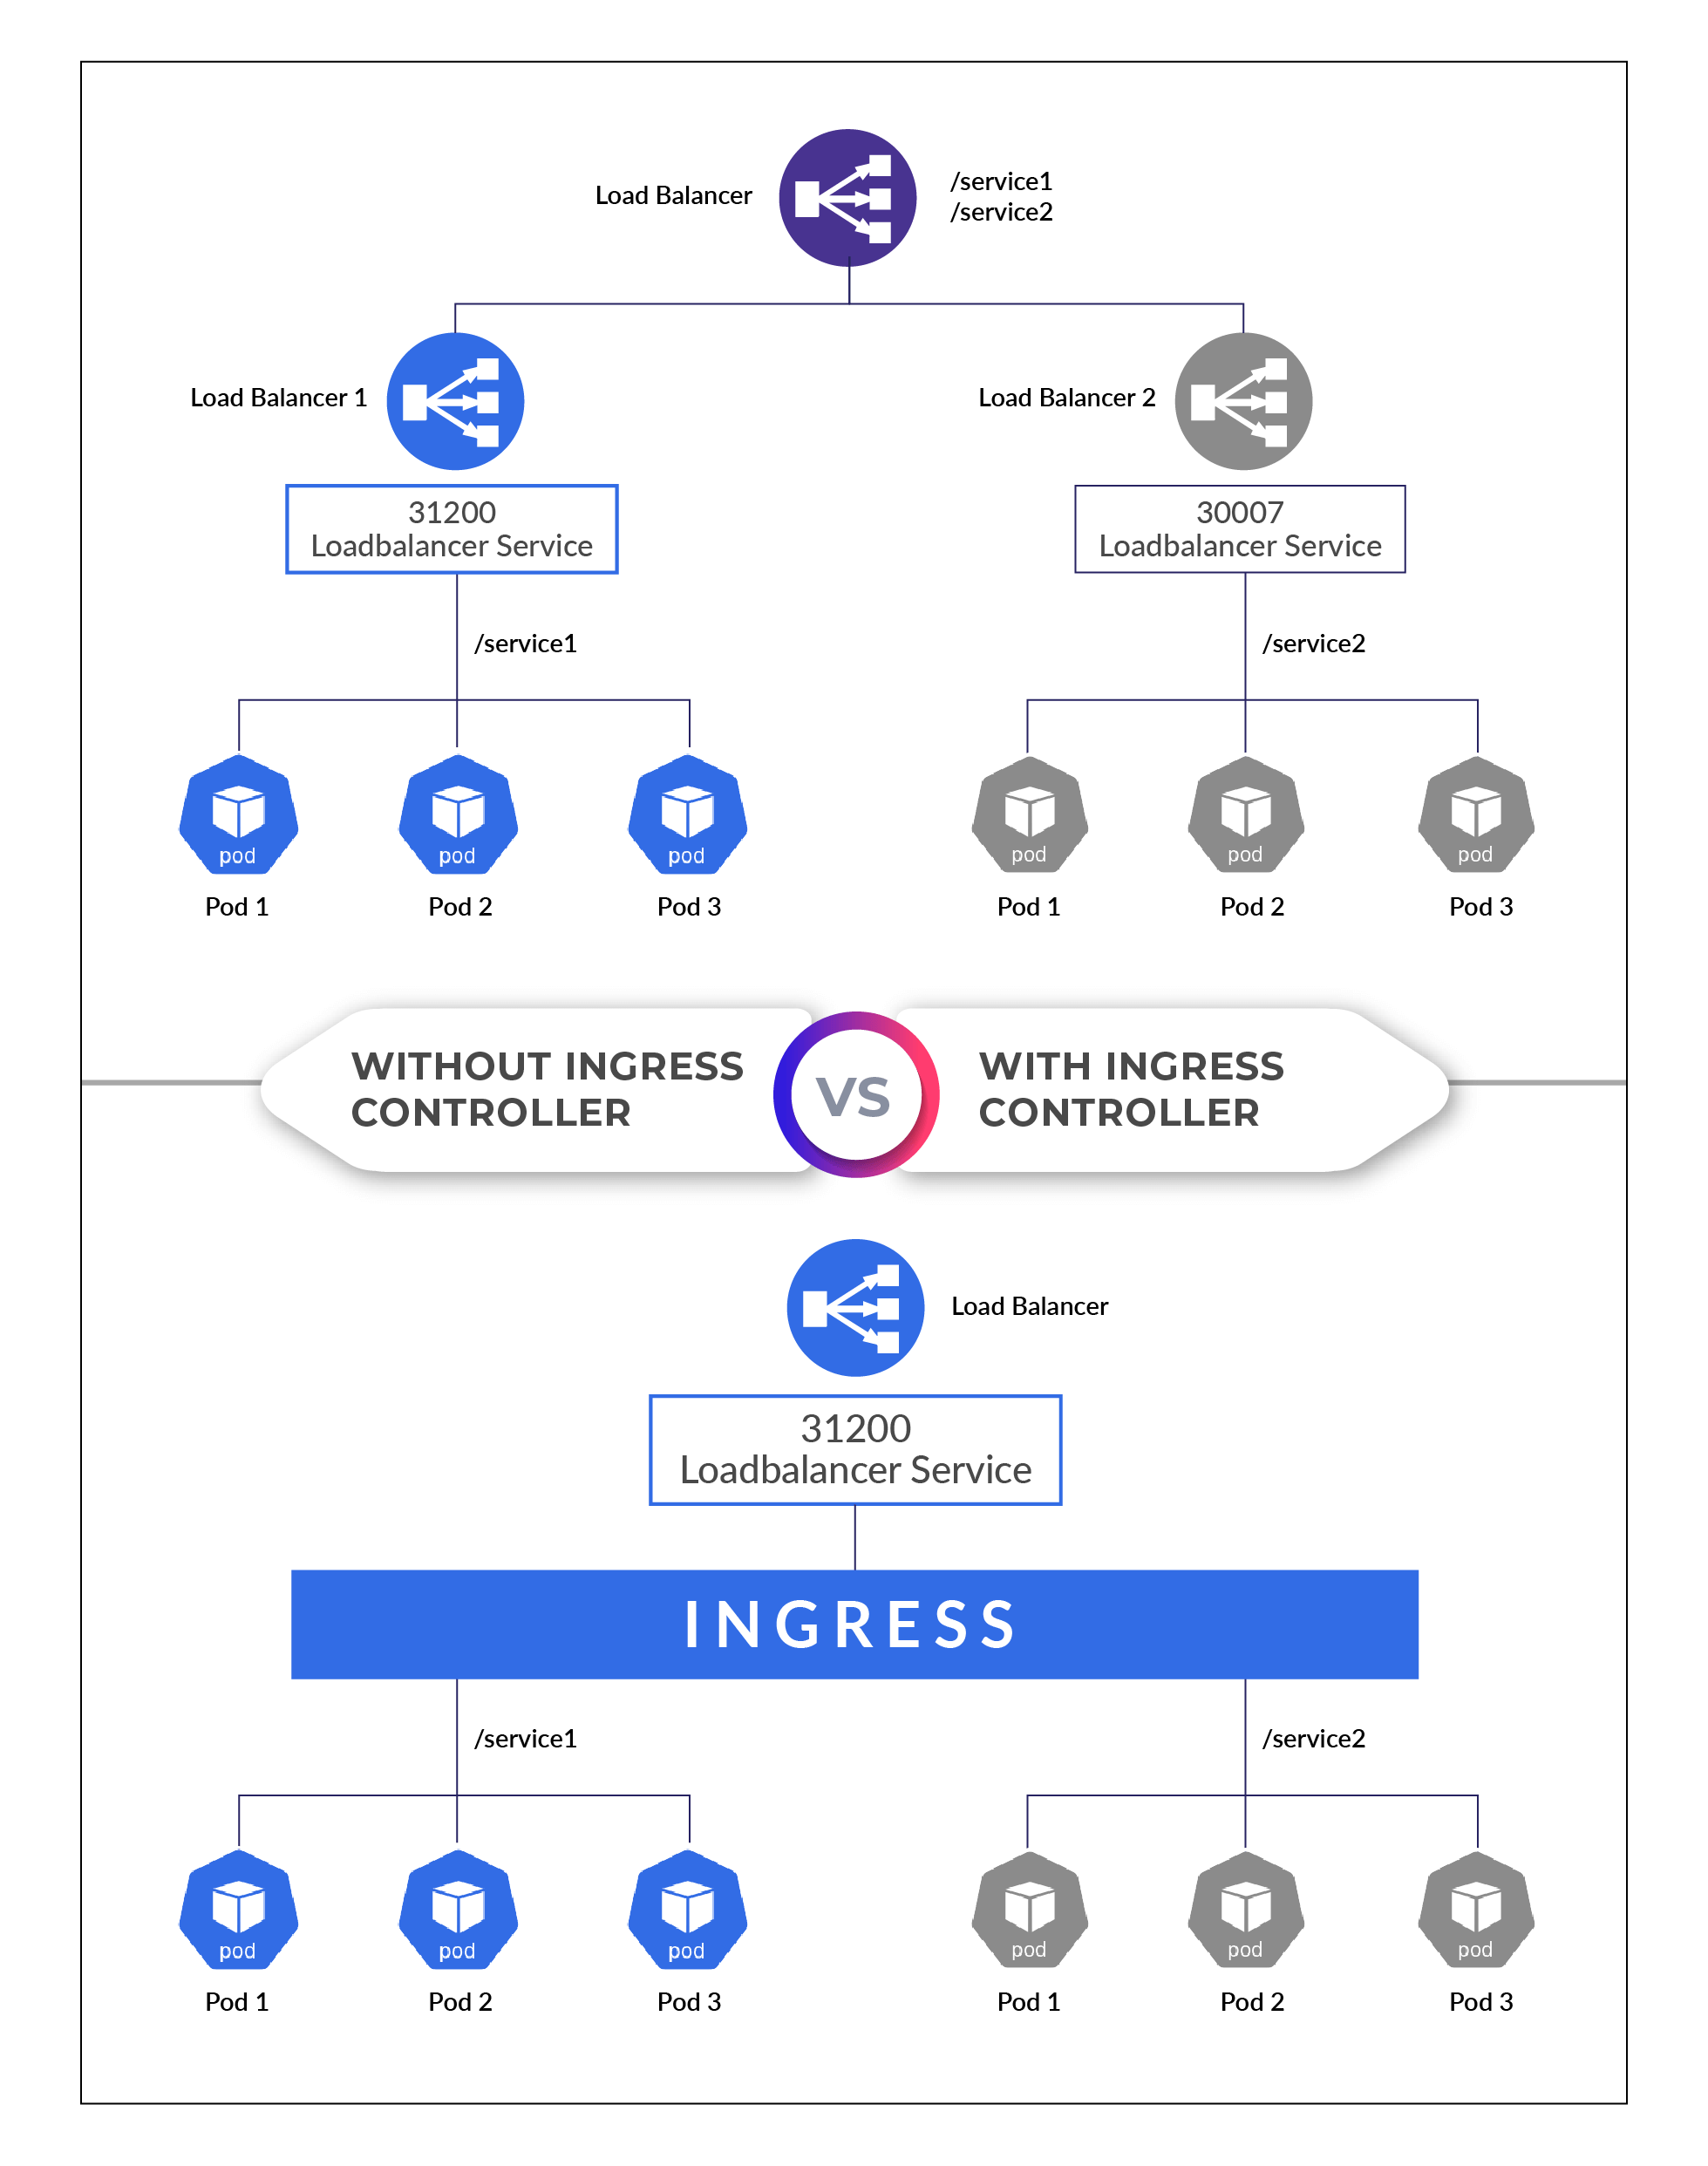
In Kubernetes, an Ingress is an API object that provides HTTP and HTTPS routing to services within a cluster. It allows you to easily expose your services to the outside world by defining rules for incoming traffic. An Ingress Controller is responsible for implementing these rules, acting as a gateway that directs traffic from outside the cluster to the correct services inside.
Why Use an Ingress Controller?
- Simplified Routing: Define complex routing rules for your applications using Kubernetes resources.
- Centralized Management: Manage all your routing rules from a single resource.
- Efficiency: Use a single Load Balancer for multiple services, reducing costs and complexity.
Popular Ingress Controllers
Several Ingress Controllers are available, each with its unique features and capabilities. Here are a few popular ones:
- NGINX Ingress Controller: Highly customizable and widely used.
- Traefik: Automatically discovers required services and has Let’s Encrypt support built-in for HTTPS.
- HAProxy Ingress: Known for its performance and efficiency.
Implementing an Ingress Controller
For this blog, we’ll use the NGINX Ingress Controller due to its popularity and flexibility.
Prerequisites
Ensure you have a Kubernetes cluster where you can deploy applications and Ingress resources.
Note: Check out our guide to quickly create a three-node Kubernetes cluster on Ubuntu.
Step 1: Setting Up the NGINX Ingress Controller
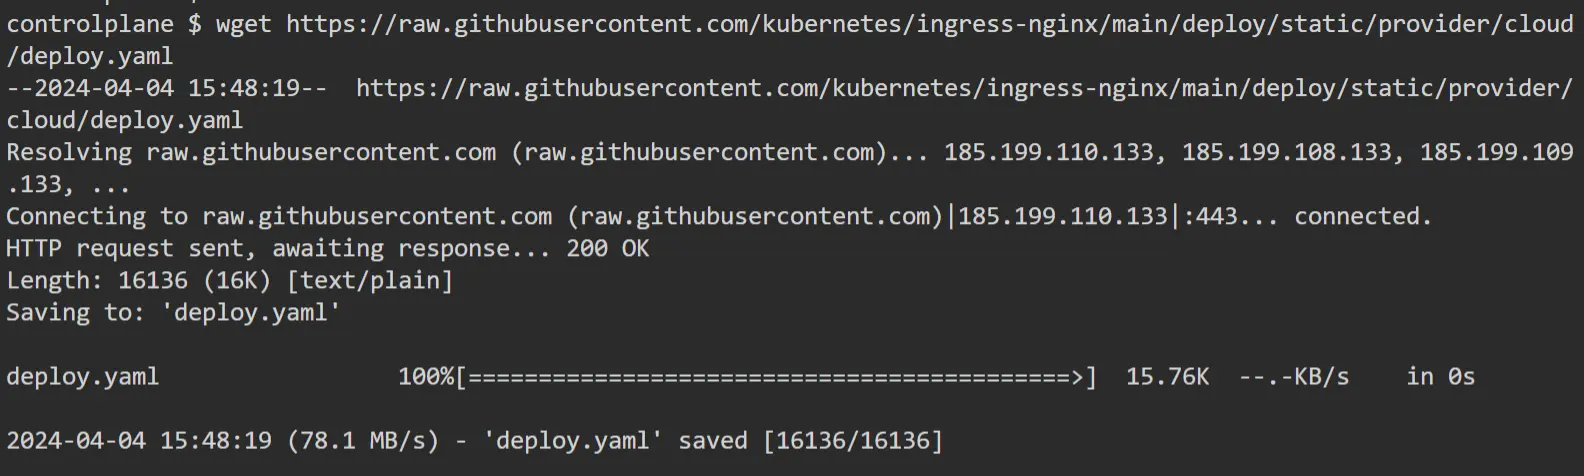
1. Download the NGINX Ingress Controller Manifests: The official Kubernetes NGINX Ingress Controller repository provides a set of YAML files for deployment. You can download the main manifest file from their GitHub repository.
First, download the deployment YAML:
$ wget https://raw.githubusercontent.com/kubernetes/ingress-nginx/main/deploy/static/provider/cloud/deploy.yaml
2. Apply the Manifest: Apply the downloaded YAML file with kubectl to deploy the Ingress Controller.
$ kubectl apply -f deploy.yaml

3. Verify Deployment: Check that the Ingress Controller pods are running.
$ kubectl get pods -n ingress-nginx

Step 2: Deploy Your Application
Deploy a sample application to test the Ingress Controller.
1. Create a Deployment: Here’s a simple deployment manifest file (webapp1.yaml) that runs a basic web server.
apiVersion: apps/v1
kind: Deployment
metadata:
  name: webapp1
spec:
  replicas: 1
  selector:
    matchLabels:
      app: webapp1
  template:
    metadata:
      labels:
        app: webapp1
    spec:
      containers:
      - name: webapp1
        image: katacoda/docker-http-server:latest
        ports:
        - containerPort: 80
---
apiVersion: v1
kind: Service
metadata:
  name: webapp1-svc
  labels:
    app: webapp1
spec:
  ports:
  - port: 80
  selector:
    app: webapp1
2. Apply the Manifest: Apply the web-app1.yaml file with kubectl to deploy the application.
$ kubectl apply -f webapp1.yaml

Step 3: Create an Ingress Resource
1. Create an Ingress to route traffic coming to /webapp1 to your webapp1-svc service. Here’s how you can define such an Ingress resource:
apiVersion: networking.k8s.io/v1
kind: Ingress
metadata:
  name: webapp-ingress
spec:
  ingressClassName: nginx
  rules:
  - host: my.kubernetes.example
    http:
      paths:
      - path: /webapp1
        pathType: Prefix
        backend:
          service:
            name: webapp1-svc
            port:
              number: 80
2. Apply the Manifest: Apply the ingress.yaml file with kubectl to deploy the application.
$ kubectl apply -f ingress.yaml

Step 4: Access the Application
Identify the external IP address or hostname assigned to your Ingress Controller. This information is typically available through the status of the Ingress resource or the service associated with the Ingress Controller.
To get the external IP or hostname from the Ingress, use:
$ kubectl get pods -n ingress-nginx

If your cluster is on a cloud provider that supports external load balancers, look for the EXTERNAL-IP of the Ingress Controller’s service
Ensure that my.kubernetes.example (or your specified host) points to the external IP or hostname of your Ingress Controller. This typically involves adding an A record in your DNS settings.
For local testing or if you don’t have a domain, you can modify your computer’s hosts file to point the host my.kubernetes.example to the Ingress Controller’s external IP. Here’s how you might add this to your hosts file:
<Ingress-Controller-External-IP> my.kubernetes.example
After setting up DNS or the hosts file, you can access your application by navigating to:
http://my.kubernetes.example/webapp1
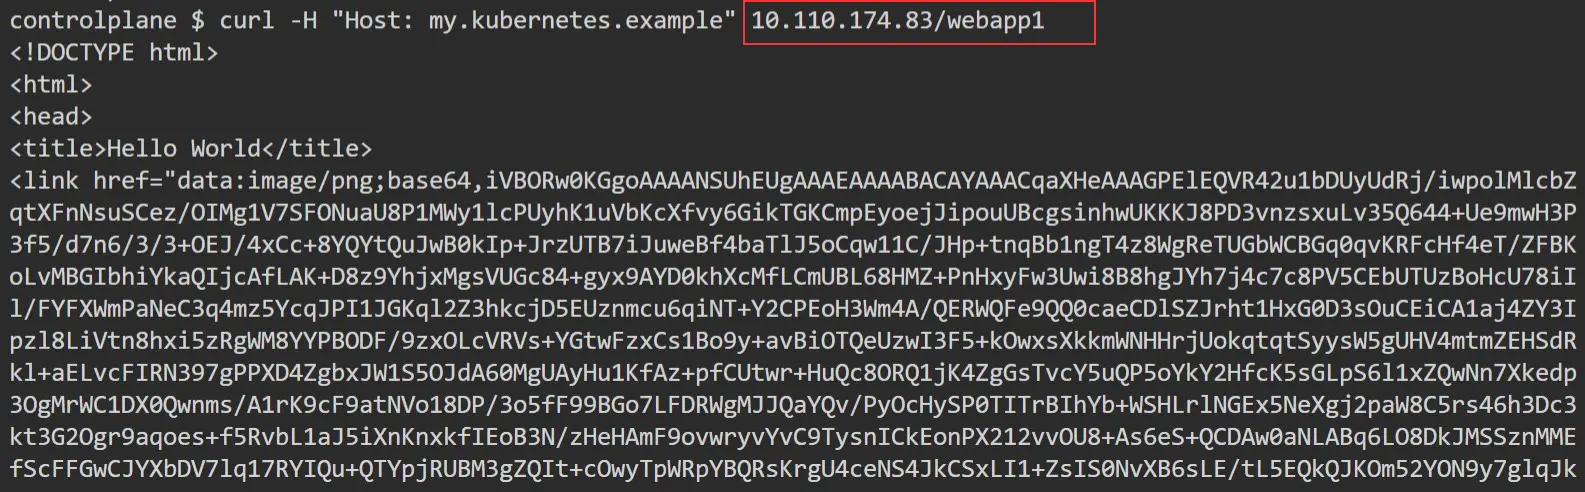
In my case, I don’t have a load balancer, and the status of the External-IP is pending, so I will verify using ClusterIP.
$ curl -H "Host: my.kubernetes.example" 10.110.174.83/webapp1
Related Post
- Certified Kubernetes Administrator (CKA): Step-by-Step Activity Guide (Hands-on Lab)
- Kubernetes Architecture: An Introduction to Kubernetes Components
- Kubernetes Deployment and Step-by-Step Guide to Deployment: Update, Rollback, Scale & Delete
- Kubernetes Dashboard: An Overview, Installation, and Accessing
- Kubernetes Network Policy
Next Task For You
Discover the Power of Kubernetes, Docker & DevOps – Join Our Free Masterclass. Unlock the secrets of Kubernetes, Docker, and DevOps in our exclusive, no-cost masterclass. Take the first step towards building highly sought-after skills and securing lucrative job opportunities. Click on the below image to Register Our FREE Masterclass Now!


Leave a Reply